Over-Excavation is a common practice on building sites before grading
to subgrade. This program allows the user to calculate the volumes of
the over-excavation by creating a new surface at the over-ex grades and
comparing it to the existing ground.
Below is an example using the Over-Ex Guide with 4DLesson7.esw file,
which was installed with the program. It should give a general idea of
how to figure the over-excavation quantities.

|

|

|

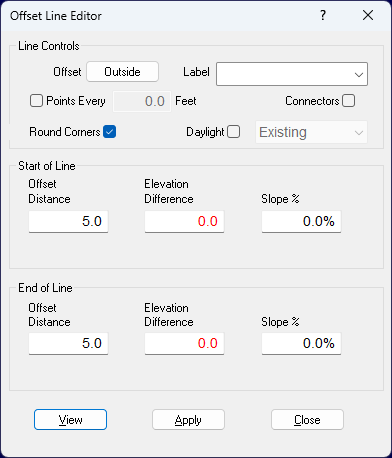
Run an Offset Line outside the pad 5
feet at 0% slope.
Press the View button
to view the line and make sure it is on the outside
of the pad. Press Apply
to add the line, and Close
to close the Offset Line Editor. The pad line remains selected. We don’t need
this line anymore, so press the Delete
button to remove the pad line from the Over-Ex Surface. Select the 5 foot offset line and choose Edit>Raise/Lower from
the menu.
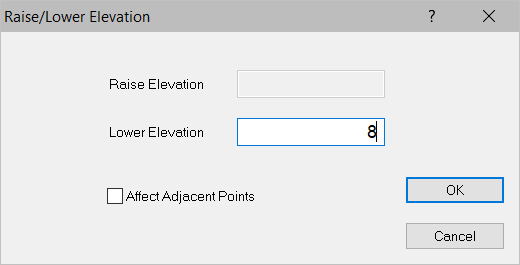
Type 8 in the Lower Elevation textbox and
press OK. This lowers
the offset line from the pad to the over-excavation level. With the line selected, press the Offset
Line button. This time we want to run an offset line
to daylight at 2:1
slope.

Check the Daylight check box. Select Stripped
for the Surface. Type in 2:1
or 50 in the Start
of Line Slope % text box. Press the View
button to view the line and make sure it is on the Outside
of the pad, Apply to add the line, and Close to close the
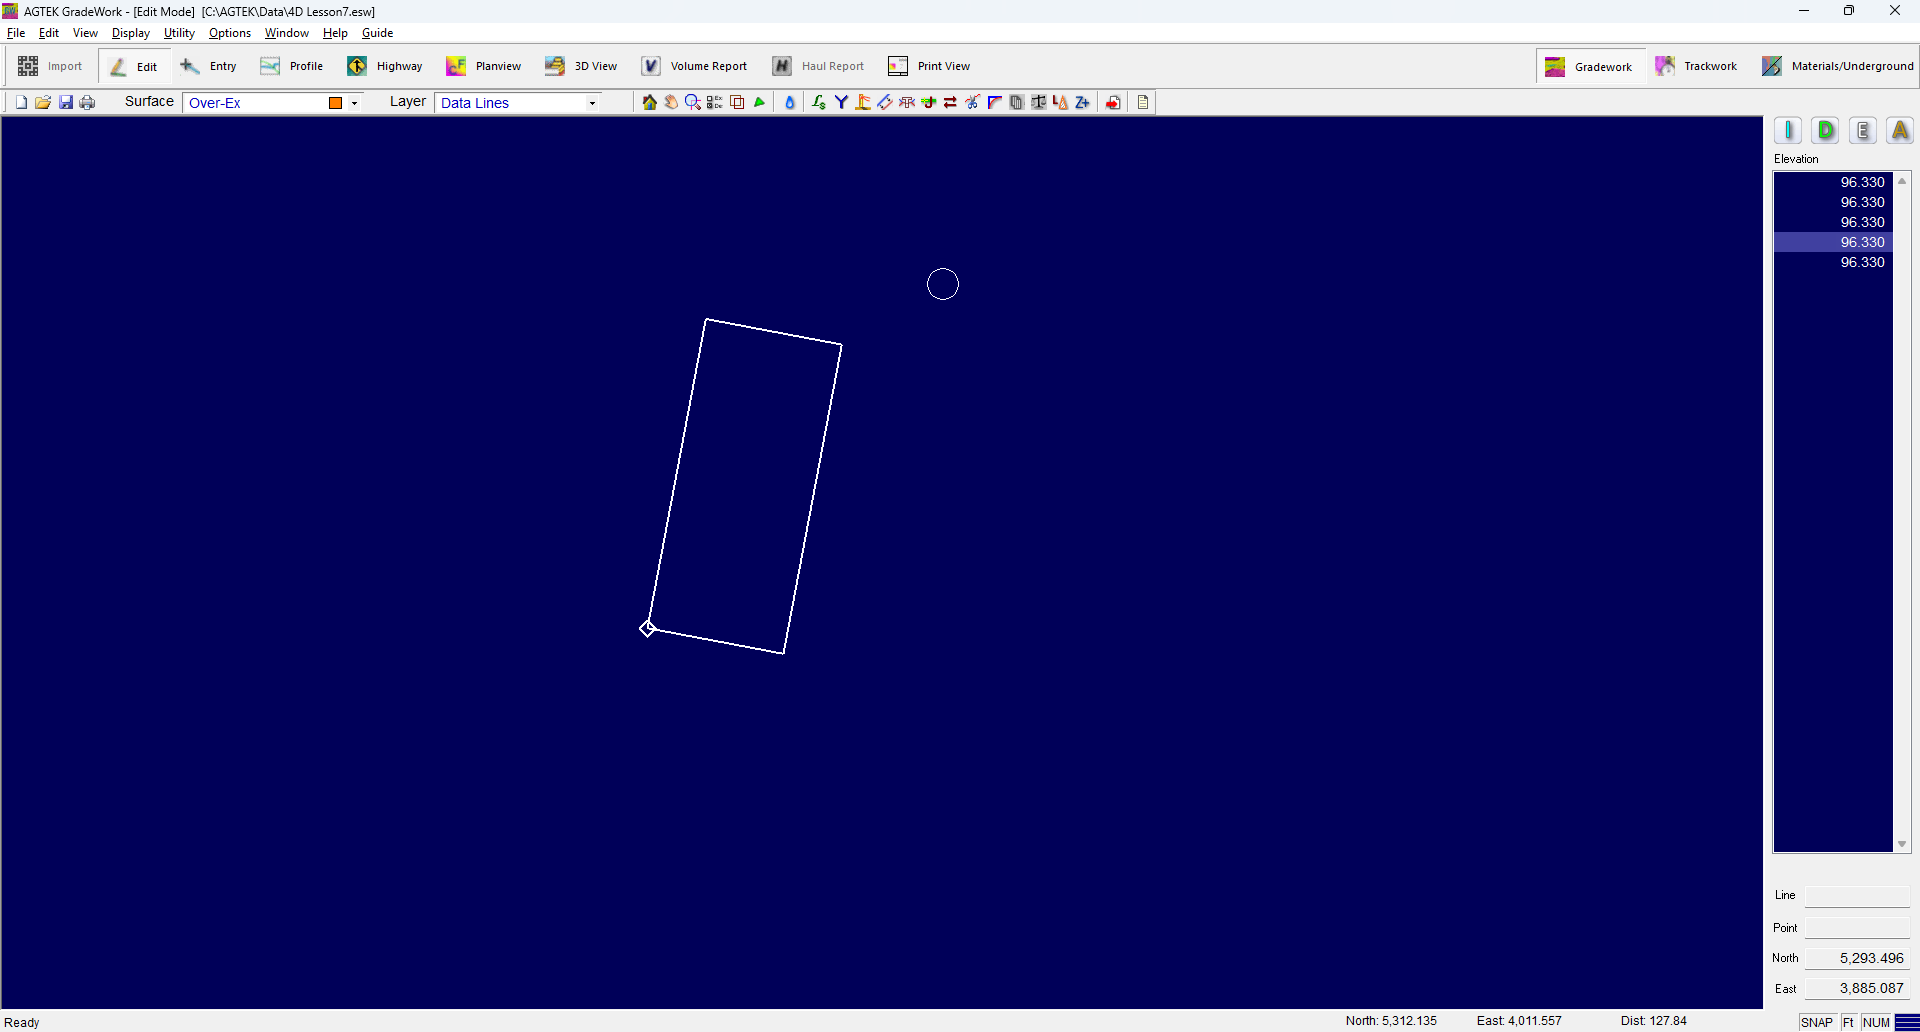
Offset Line Editor. The screen should look like the one below.

|
|
Switch to Entry
Mode. Press the Over-Ex
button to display the guide and choose Enter
Staging Perimeters. The Layer Menu switches to Perimeters. Place
the arrow over the offset sloping to daylight line and press
F8 twice to area snap
the stage area to the line. Press the Right
Mouse button twice; once to end snap and another to
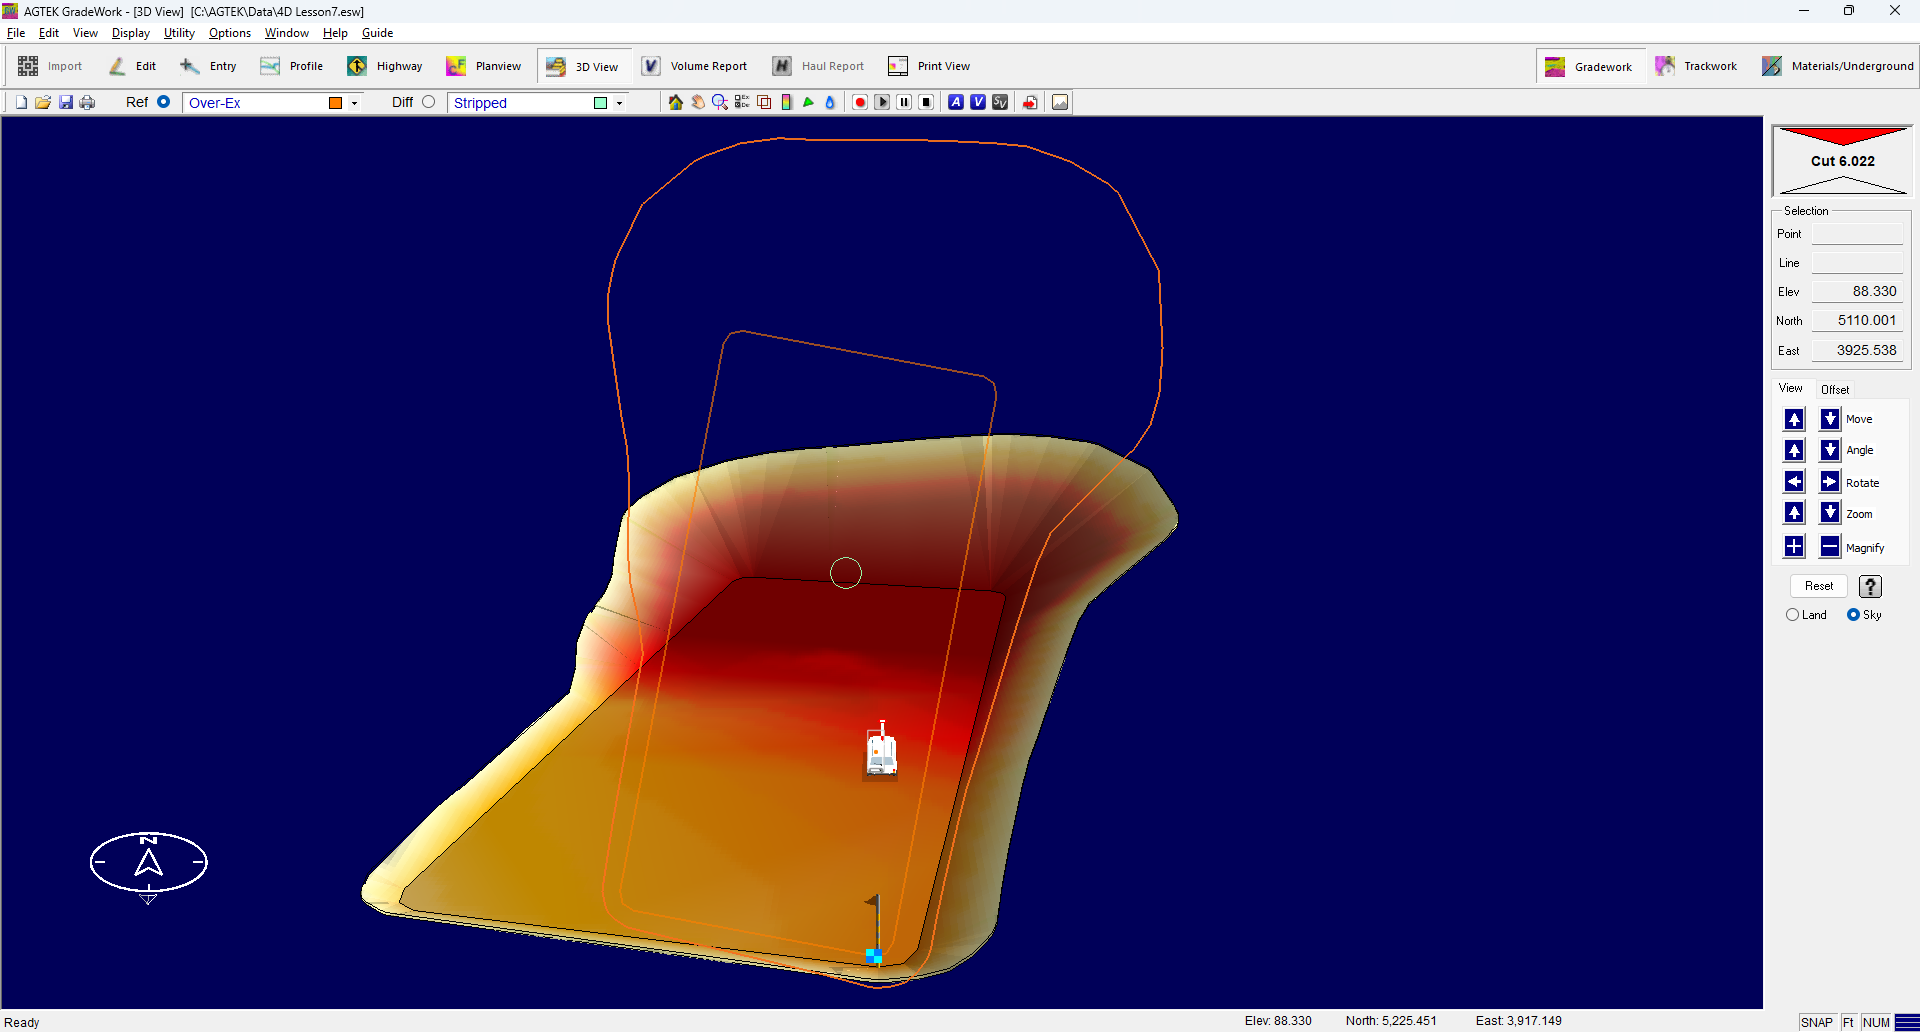
end data entry. Display the Over-Ex guide and choose Review Graphics. The screen
switches to 3D View Mode displaying the Over-Ex data.


|
|
With Over-Ex and Striped selected as the surfaces
to compare, press the Calc
Volume button to calculate the volume of the over-excavation
area. The results display in the Volume Calculation Report
pop-up. To view the full report, switch to the Volume
Report Mode. |